Measurement technology plays an important role in industry and technology. The decisive factor is the selected measurement method that is used. Measurement technology is used to provide information about the actual states of certain physical variables.
How does measurement technology work in detail? Metrology involves the determination of certain physical quantities using a wide variety of devices. During the measurement process, mathematical methods such as combinatorics, stochastics and error calculation are also used. Measurement itself can be seen as an experimental process that records the specific value of a physical quantity as a multiple of a unit.
Metrology is a very broad term. At Q-Tech, we deal exclusively with length measurement technology and dimensional measurement technology. Would you like to know more about the individual data of our machines? Then take a look at our software and our equipment.
Basics of measurement technology
First of all, you should know that all physical or chemical effects or laws that are present during the measurement are referred to as the measuring principle.
The precise application of measuring devices, or technical solutions in general, is referred to as a measuring method.
Measurement methods , on the other hand, are general rules that serve to determine the way in which a specific measured value is determined.
Basically, experts distinguish between direct measurement technology and indirect measurement technology.
Direct measurement
With direct measurement, you compare the measured variable directly with a scale.
For example, you can use familiar tools such as a tape measure, ruler or calipers. Although these tools have lost some of their importance in modern industry, they are still present and frequently used in everyday life.
Calipers in particular are still very important in industry today and are a must in every workshop. With this inexpensive measuring tool, you can carry out direct length measurements on various components in no time at all.
Indirect measurement
Indirect measurement is used when variables cannot be measured directly.
The procedure is as follows: You take another variable and use it to determine the measured variable you are looking for - provided there is a direct and unambiguous correlation.
For example, the distance between the earth and the moon could never be determined by direct comparison with a scale. However, it has been possible for 30 years to determine the distance precisely using light or radio waves - even to the nearest millimeter.
Indirect measurements make up the majority of measurement methods used in everyday life.
Simultaneous measurement
Simultaneous measurement can be seen as an extension of indirect measurement methods. During the procedure, time errors are eliminated by measuring different points simultaneously. In addition, measurement deviations are minimized and the sources of systematic measurement errors are uncovered.

Measurement technology and the influence on quality
Measurement technology has always helped to uncover unknown correlations in the scientific field or to confirm laws of a theoretical nature by means of an empirical experiment.
Advances in measurement technology have made a significant contribution to improving the quality of products and production processes.
Due to progressive quality development, the demands on measurement technology are increasing.
Here are a few examples:
- The increase in the complexity of technical systems
- The tolerances for certain properties are reduced
- The speed of technical processes is increasing
- The degree of automation of industrial processes is increasing
- The production of components and assemblies is gradually becoming specialized
- The technical use of scientific knowledge is becoming more important
- The demands on the functional properties of products are increasing
- The demands on production processes are increasing.
Measurement technology and the production process
Product quality is usually measured in these three phases of production:
- Incoming goods inspection
- Intermediate check
- Outgoing inspection
These points can be understood as a kind of scheme. This guarantees that the quality of the products is ensured at all times during production and that potential errors are detected in good time at any point in the process.
Dimensional metrology
At Q-Tech, we specialize in dimensional metrology. This means that we measure everything that has to do with the size or dimensions of components.
The corresponding physical quantity is the length.
Even surface characteristics and roughness are basically nothing more than length dimensions or depth distances.
The appropriate sub-concept in measurement technology here is length measurement technology.
The measured actual values allow a complete and three-dimensional assessment. In the best case, the component has been manufactured as it was originally designed. This enables smooth use later on (e.g. assembly of the component).
Different technologies are used in our company:
- Computer tomography
- Tactile measuring technology (portal measuring machines, conturographs, roughness measuring devices, etc.)
- Optical 2D measurement technology (e.g. video measuring microscopes)
- Optical 3D measurement technology (e.g. 3D scanner)
Computer tomography
In computed tomography, homogeneous components, such as plastic components or light metals, but also inhomogeneous components (fiber composites) are examined and captured in three dimensions.
Computed tomography in metrology should not be confused with the process of the same name in medicine. While medicine focuses on the examination of the human body, metrology is exclusively concerned with the examination of a component.
The actual metrological work and preparation for measuring the test specimens begins even before production. The CAD data used serves as the basis. These are used to create a test plan or measurement program.
The individual reference and measuring points of the component are precisely defined in the test plan. After production of the first near-series component, a scan is carried out in the ICT system. After scanning, the component is displayed in 3D volume data and read into the evaluation software.
The 3D point cloud is now compared with the CAD design data.
Deviations are output in a log using the measurement software. For better visualization, the deviations are also displayed in colors to illustrate the degree of deviation. These colored 3D representations are referred to as target/actual comparisons.
With the help of a CT scanner, you can see the complete internal and external geometry of the workpiece. Even the smallest deviations and component defects can be localized with the CT scanner.
Even soft materials, such as elastomers, can be precisely examined and tested using this method.
More about CT here
Industrial computed tomography in manufacturing
Two-dimensional CT
In the two-dimensional method, a single layer of the object is examined and reconstructed. This is done with a radiographic inspection and detection with a line detector.
Meanwhile, the X-ray source emits a fan beam. The numericallayer structure of the object is then created using the recorded X-ray projections.
Advantages:
- Detailed resolution
- Low interference due to scattered radiation
- Non-destructive testing of the component
With two-dimensional CT in industry, the object to be measured is not rotated. The systems are able to measure components in a single beam path. Two-dimensional CT is used in particular to inspect damaged areas inside components and to record two-dimensional dimensions.
Three-dimensional CT
Three-dimensional CT involves rotating the component to be measured. This enables the creation of complex 3D models. During the measurement process, data models are created that consist of various points. These 3D models serve as an important foundation for carrying out a precise quality inspection.
Advantages:
- Testing complex geometries
- Complete collection of complex volume data
- Non-destructive testing of the component
Disadvantages:
- Computers with high computing power and plenty of storage space are required
- Three-dimensional measuring systems are more expensive than two-dimensional variants
Three-dimensional CT is often used as a method for reverse engineering. It is also used for comprehensive damage analyses and geometry measurements for complex components.
Tactile measurement technology
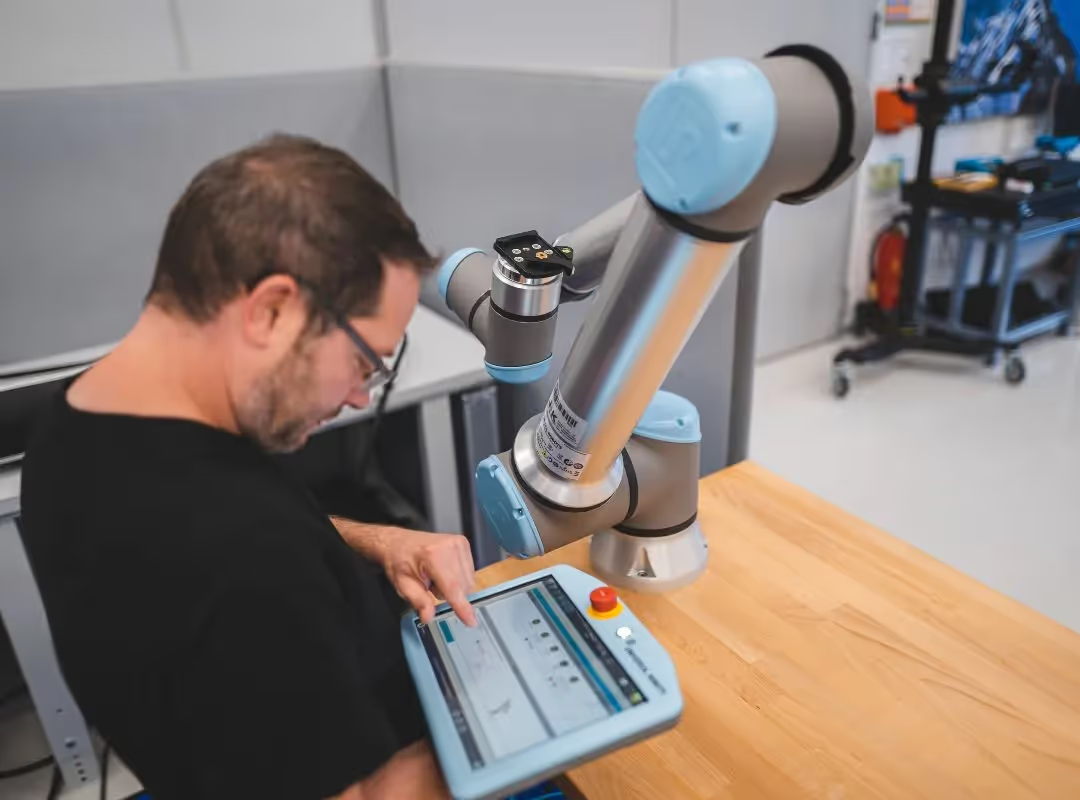
Tactile measurement plays an important role in mechanical engineering. It is used in particular when optical methods reach their limits.
Precise tolerance determinations in the micrometer range and large-area detection of workpiece surfaces are possible.
The point coordinates are determined by means of mechanical sensing elements. These probes are made of hard metal, industrial ruby or silicon nitride.
Even large and heavy workpieces can be measured in mechanical engineering using this method.
The inspector then receives the required information and results. Possible test elements and characteristics are, for example
- Geometry
- Flatness
- Straightness
- Roundness
This data is of crucial importance for the measurement technician. They can precisely check distances, angles, shape deviations, dimensions and positional relationships and provide a meaningful quality assessment.
The process mainly uses portal measuring machines, but roughness measuring devices and conturographs are also part of tactile measuring technology.
Areas of application for tactile measurement technology
Tactile measurement technology is mainly used in mechanical engineering, where the tolerances are very small .
This process has therefore proven itself in the following industrial sectors in particular:
- Mold making
- Aerospace
- Automotive industry
- Foundries
- Toolmaking
- Railroad industry
- Medical technology
- Heavy industry
- Plastics technology
- Machine shops
There are a few things to consider beforehand: Despite the low force that the sensor exerts on the material surface, minimal deformation sometimes occurs with soft materials.
Alternative measurement methods should therefore be used, especially for thin or flexible components.

Optical measurement technology
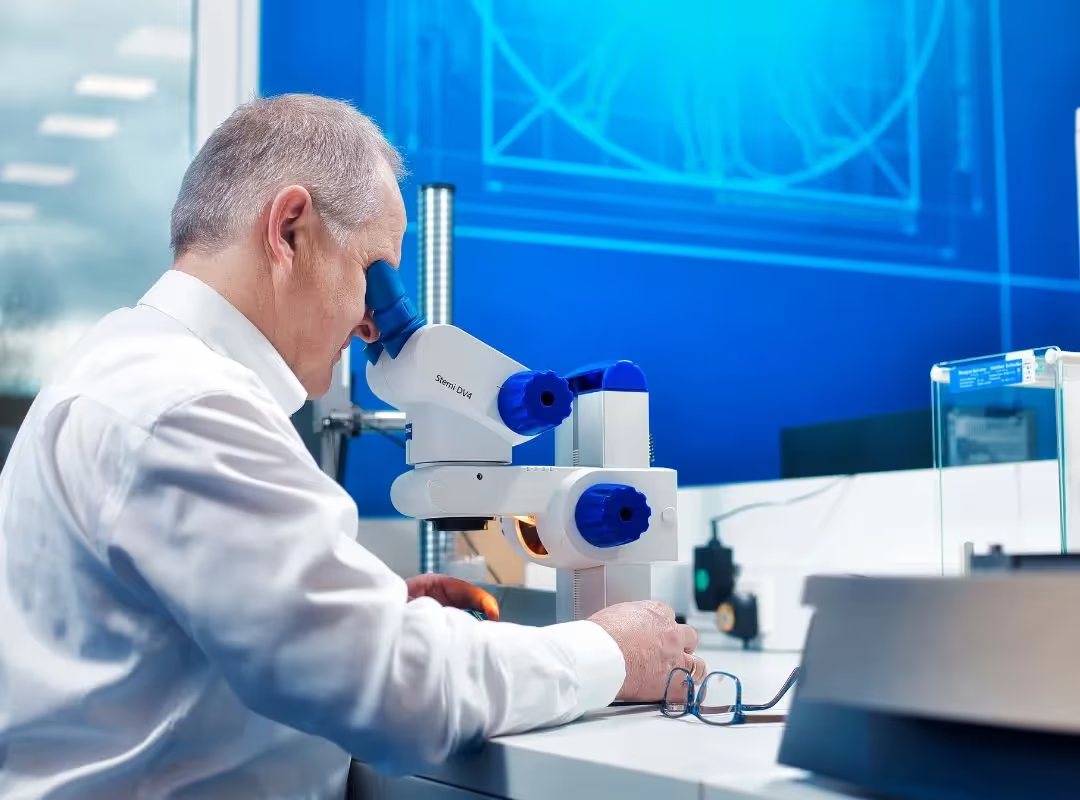
In contrast to tactile measurement, optical measurement systems measure objects using optical sensors. These can be laser scanners, projection systems or photogrammetry systems.
The great advantage is that surface damage to the measurement object is reliably avoided with sensitive objects. Signs of wear also do not occur here.
Transparent and shiny components place particularly high demands on optical sensors. The reason is relatively simple: measuring with light on reflective or even translucent material is difficult or not possible for the time being.
A scanning spray is often used here before the measurement. This makes it easier for the sensors to detect the contours.
More about optical metrology
Optical measurement technology - how it works in industry
Conclusion: Measurement technology is indispensable for maintaining quality.
It is clear that measurement technology plays a decisive role in testing and maintaining quality.
As technical components become more and more sophisticated in the future, the measurement technology must also meet increasingly stringent requirements.
It is now also possible to combine individual measurement techniques such as tactile measurements with optical methods in order to balance out the advantages and disadvantages of the respective techniques.


.svg)


.svg)

%20(1).webp)
.svg)
.svg)
%20(1).webp)

.svg)
.svg)

.svg)


.svg)
.svg)
